

Stats and Reports (for Supervisors)
Create a New Profile
Creating a profile is a two-step process:
- Decide the type of report you want to produce, the report format, and who has access to the profile.
- Determine the type of details you would like to report on.
To create a new profile, click Create New Profile from the Stats and Reports tab.
Enter the following information:
- Profile Name
- Statistic Type – Choose one of the following:
- Summary – This is a queue report that contains statistics on inbound, outbound, and transferred calls, such as the percentage of calls that are answered and call duration.
- Agents – This report contains stats that are agent focused like time spent on calls, time spent in a state,etc.
- Download – This report contains all Call Detail Report (CDR) information for your calls and Agent stats.
- Telephone Number – Select the telephone number(s) or named route for which the profile obtains the specified statistics. You can select multiple telephone numbers or named routes. To select multiple numbers or routes, press and hold CTRL while you click the numbers or routes to include. To select all the available numbers and routes, click Select All.
- Formatting determines how you view the report from the following ways:
- On-Screen or Via Email – This allows you to either see the reports in a tabular or graphical format on screen, or via email, containing the report in an XLS spreadsheet.
- Recipient Address – If you choose to send an email containing the report, you must specify the recipient’s address. Multiple email addresses may be added with a ; separating the addresses.
- From Address – This is the address the reports will be sent from.
- Frequency – This determines when you can choose to send emails daily, weekly, or monthly, or any combination.
- Report Format – Determines the type of spreadsheet that is generated.
- Opening Hours – To only report on data from hours when the call center is open, select the Opening Hours checkbox and then select the opening and closing hours of your business

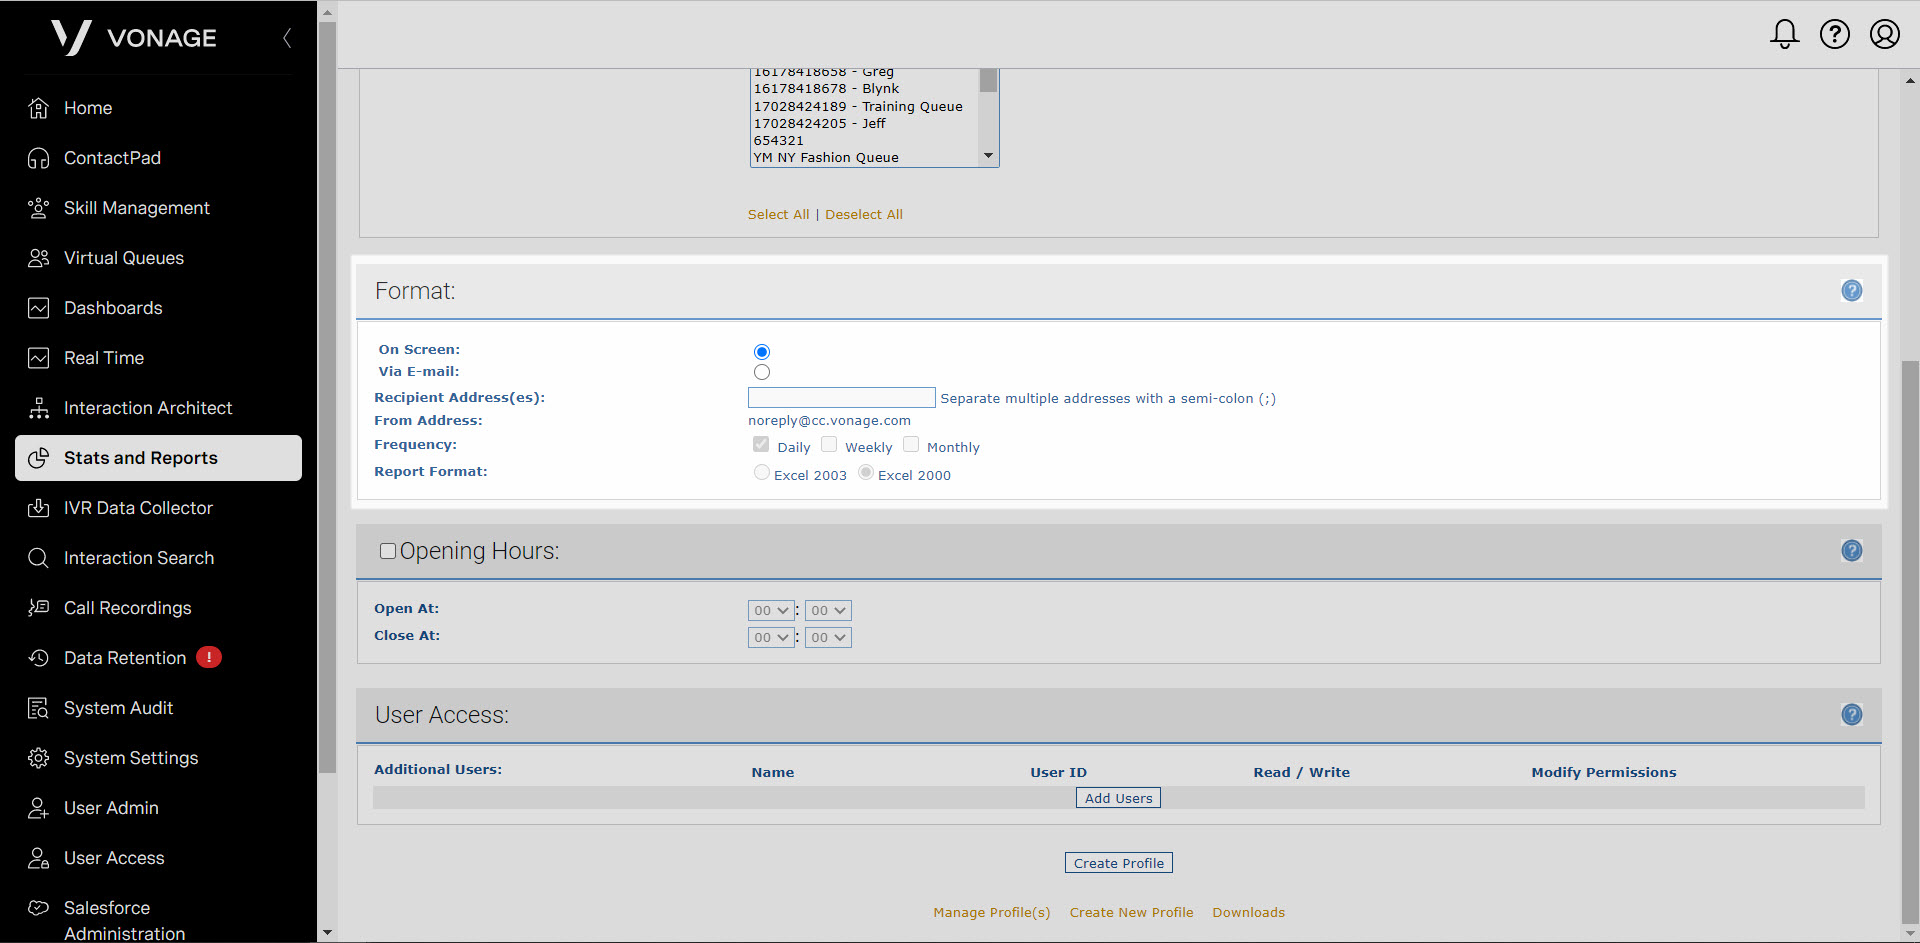

When finalized, click Create Profile.
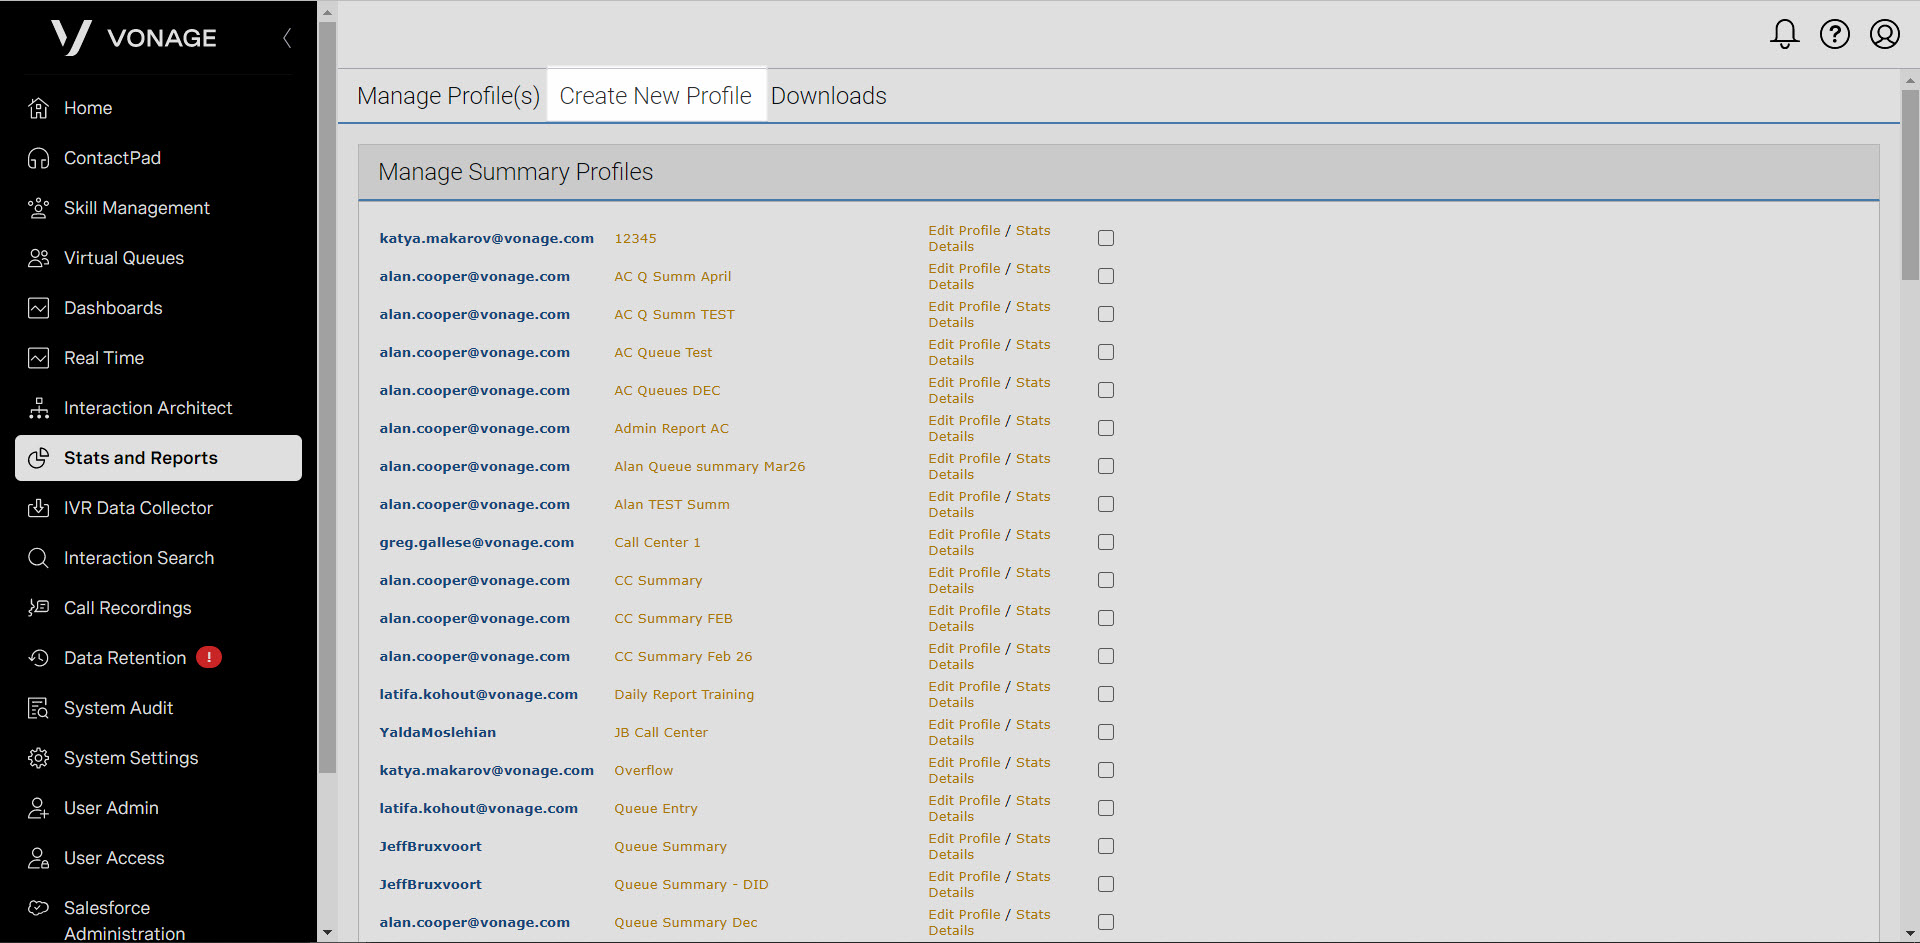
Running a Report
From the Stats and Report page, on the Manage Profile(s) tab, there are four main sections that your profiles may appear in, these include the following:
- Manage Summary Profiles – This section contains profiles used to report on call summary statistics
- Manage Agent Profiles – This section contains profiles used to report on agent state, agent call, and group summary statistics
- Manage Agent Activity Profiles – This section contains profiles used to report on agent activity statistics
- Manage CDR Email Profiles – This section contains profiles used to download inbound or outbound call statistics, or agent statistics.

To run a report, click on the report name from one of the sections mentioned above. You will find the reports in the second column in each section.

Select both the date range for which you want to display the data and the format for which you want to view the data in the Select Period section. Choose one of the following formats:
- Here – This displays the report in the browser window. Click Show Report to see the data within a graph, bar chart, or pie chart to display the information in a graphical format. For information about generating a graphical report, see Viewing the report as a graph, pie chart, or bar chart.
- Excel 2000 – This enables a download as an Excel 2000 spreadsheet. To do this, once it’s selected, click Show Report.
- Excel 2003 – This enables a download as an Excel 2000 spreadsheet. To do this, once it’s selected, click Show Report.
- CSV – This enables a download of a CSV spreadsheet.
- Via Email (only available for summary reports) – Click Via Email to email an Excel 2000 or Excel 2003 spreadsheet to the email address that you specify.
When you have completed configuring the statistics you want to include in your report, click Show Report.
