

System Settings (for Supervisors)
Home Tab
To access your system settings, from the VCC Admin Portal homepage, click the System Settings tab in the left-hand navigation. You can perform the following tasks within the System Settings area of the Admin Portal of the Vonage Contact Center (VCC):
- Changing a PIN – To change your PIN, from the home tab, find the Change PIN table. Select the phone number or user you would like to change the PIN for. The list contains the numbers available in your account. Next, input a new PIN number. When finished, click Update. A pin is needed if you would like to change your system’s routing remotely by calling a VCC “Useful telephone number.”
- Outbound Settings – To configure outbound settings, navigate to the appropriate table. You can configure the following settings:
- No Answer time Out: This specifies a time limit in which VCC tries to connect the agent’s outbound call. The standard value for this is 15 seconds but can be configured up to 180.
- Outbound Wrap-Up Time: This specifies a time limit for an agent to wrap up a call after the call has ended. The amount of time assigned here allows the agent to make any notes on the previous call account. The default time for this is 180 seconds, but can be changed to a higher limit.
- Agent Post Call State: After the agent leaves the Wrap Up (Auto) state at the end of a completed call, the agent goes into the state that you specify in Agent Post Call State. These can be Ready, Ready (Outbound), or Leave Unchanged. If choosing the latter option, the agent will move back into the state they were prior to the call.
- Consult Settings – To configure consult settings, navigate to the appropriate table. You can configure the following setting:
- No Answer Time-Out: When an agent clicks to consult with a third-party during a call, VCC attempts to connect the call to the specified agent or telephone number for the number of seconds you specify. The default setting is 45 seconds. The consult call times out after this time and an error message appears in the ContactPad. The allowed values vary from 5 seconds to 180 seconds
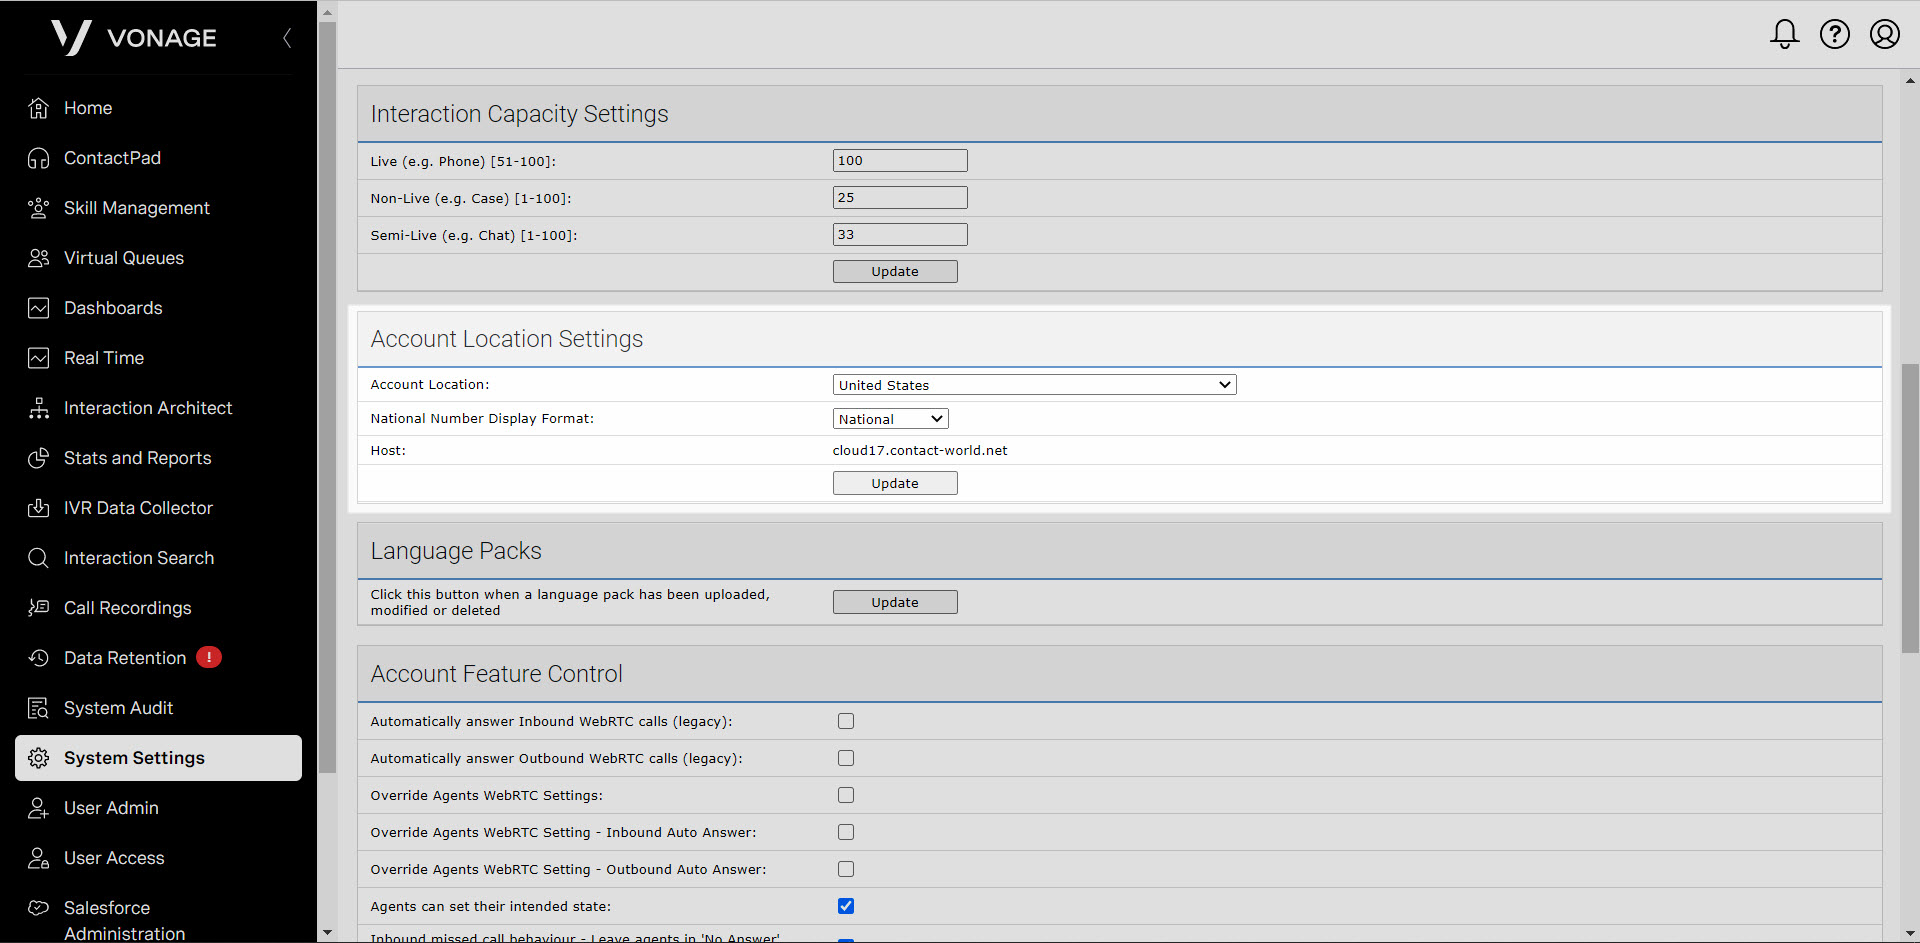
- Account Location Settings – To configure your account location settings, navigate to the appropriate table. You can configure the following settings:
- Account Location: This is the location where your current office is located.
- National Number Display Format: This is the format in which VCC displays phone numbers in ContactPad. You have the option to choose National Format, which is your generic 10-digit number, or an International Format which require the following:
- a + sign to indicate that the number is international
- a country code, such as 44
- a region code, such as 1234
- an extension number, such as 567890
- Host: This is where your account is held in the cloud. This value cannot be edited.

When finished, click Update to confirm your changes.

When finished, click Update to confirm your settings.

When finished, click Update to confirm your settings.
Emergency Numbers
When an agent attempts to call an emergency number—using any mechanism supported by Vonage Contact Center—a message appears in ContactPad. The message warns the agent that they cannot make emergency calls using the platform and to use a phone instead. Vonage Contact Center blocks the call. The agent’s state changes to Prohibited Emergency until they acknowledge the warning. After acknowledging the warning, the agent’s state changes back to Ready.
Access your Emergency Numbers from the System Setting page. Click the Emergency Numbers tab to view a table with a list of your current emergency numbers.
To add a new emergency number to your account, click Add New. In the new fields provided, input the new emergency number, followed by a short name. When complete, click Update.
To delete an emergency number, click on the checkbox next to the corresponding number and then click Update, and the number is deleted.
