

Introduction to Vonage Integration Suite
Vonage with NetSuite Integration is a managed desktop application that enables you to meld your business phone and capture call data in NetSuite, helping enhance workflows and gain efficiencies through every inbound and outbound call with call logging. This guide covers the installation of the VBC desktop application, activation, and how it integrates with NetSuite.
Download and Install Vonage Integration Suite
Users can access steps to install the Vonage Integration application via the welcome email or manually download it from their default web browser.
To download the application from your browser, go to: https://app.vonage.com/
Sign in, and select download the desktop app from the header. Once the desktop application has been installed, it automatically opens and signs you in based on the credentials entered through the browser.
Administrator NetSuite Setup
To integrate NetSuite with the Vonage Business application, administrators must complete a one-time setup for NetSuite and configure settings appropriate to their administration.
First, enter the following URL in your browser https://www.netsuite.com/portal/home.shtml and login with your credentials. The home screen appears to access reminders, perform a quick search, and much more.
Enable NetSuite Features
To enable NetSuite features,
- Navigate to the Setup Menu.
- Hover over Company, and select Enable Features.

- Locate and click the SuiteCloud tab and check the boxes next to the following features to enable them:
- Client Script
- Server Script
- Token-Based Authentication
When done, click Save.
To save support cases in VGIS, navigate and click the CRM tab and check the box for Customer support and service. Select Save to enable the features.
Retrieve Account ID
As an administrator, you can retrieve your account ID in two ways:
- Go to the Setup menu.
- Navigate to Integration, and click SOAP Web Services Preferences.
- Under Primary Information, locate your account ID.
Or,
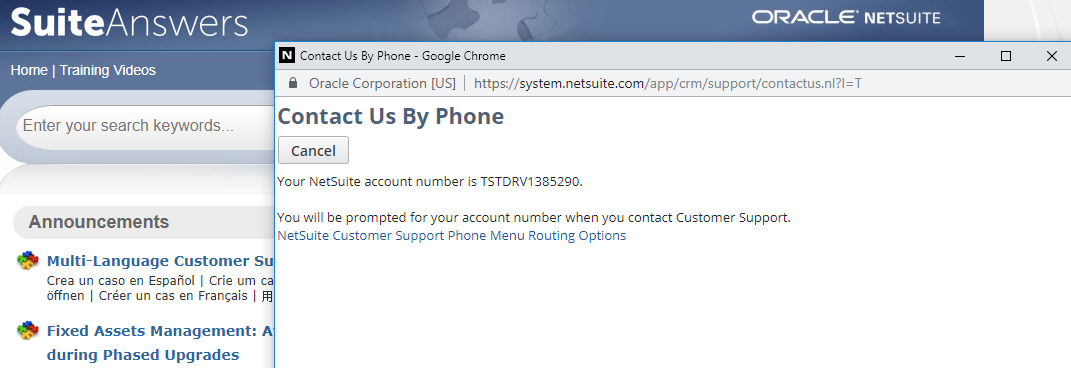
- Go to the Support menu and retrieve your account ID by accessing SuiteAnswers to contact support by phone.
Role Creation
If a user does not have a custom role, create one to assign token-based access for the role. To create a role:
- Go to the Setup menu.
- Navigate to user/roles, and click Manage roles.
- Click New Role.
- Please Note: You can create new roles and customize roles but cannot change permissions and others for standard roles.
- If you customize the CEO role, the new role is entirely based on the CEO role. You can set more permissions as an administrator.
- Under Permissions, navigate to Lists to grant full permissions to the following:
- Customers – create a lead, prospect & customer:
- Contacts – create a contact.
- Phone Calls – save subject & notes.
- Vendors – save vendors.
- Partners – save partners.
- Other Names- save other names.
- Notes – save user notes.
- Tasks – save tasks.
- Cases – save support cases.
- Employees– To search for employees.
Under the Setup tab, set the following permissions for
- Login using access tokens– To login using an access token. Once the permission is set, you can log in for the role using the access token.
- User access token– To get access tokens. Once the permission is set, you can get a token for the role.
- Setup Web Services– To see the account ID.
- SuiteBundler Permission – For users to search and install bundles.
- Please Note: This is required only for administrators. By default, admins will have this permission already set.
For more information on role creation, please visit the following NetSuite Help Center resources:
Managing Roles: https://system.na1.netsuite.com/app/help/helpcenter.nl?fid=section_N285436.html
Standard Role Permissions Table: https://system.na1.netsuite.com/app/help/helpcenter.nl?fid=section_N295396.html https://system.na1.netsuite.com/app/help/helpcenter.nl?fid=section_N3427186.html
Employee/User Creation
To add new employees or create users,
- Go to the Lists menu and navigate to Employees.
- Select Employees from the submenu.
- Select New Employee. You can create employees with more permissions, grant login permissions, set mail ID, give login access, set a password, and set appropriate roles.
For more information on creating new employees, please visit the following NetSuite Help Center resources:
New Employee:
https://system.na1.netsuite.com/app/help/helpcenter.nl?fid=section_N894212.html
Giving an Employee Access to NetSuite: https://system.na1.netsuite.com/app/help/helpcenter.nl?fid=section_N896195.html
Assigning Roles to an Employee: https://system.na1.netsuite.com/app/help/helpcenter.nl?fid=section_N897798.html
Search & Install the Netsuite bundle
To install the NetSuite bundle:
- Go to the Customization menu, and navigate to SuiteBundler.
- Click on Search and Install bundles.
- Search for Vonage Netsuite in the search bar and press Enter.
- Select the bundle you want to install.
- Click on the bundle to start the installation process.
- The status changes from pending installation to a green checkmark, indicating a successful installation.
VGIS Login Flow
Netsuite will provide the token for the “default” role set in Netsuite for the user.
To set a default role:
- Hover over the logged-in user profile at the window’s top right corner.
- Click View All Roles in the menu.
- Select the role that has permissions to log into VGIS.
- Log into CRM once again to make sure the default role is set correctly and appears at the top right of the window.
If the default role does not require two-factor authentication, the user will successfully log into VGIS. However, suppose the default role requires two-factor authentication, and the user has not entered the verification code. In that case, CRM will display an error message asking the user to enter the OTP for the Verification Code field. Once users enter the OTP, they will be logged in to VGIS successfully.
If you do not have an authenticator app as an extension:
- Reset two-factor authentication for that user.
- Once reset, log out and log in again to Netsuite CRM.
- Follow the two-factor authentication process.
Users can get the OTP from the Authenticator App. Netsuite recommends that users install an authenticator app for two-factor authentication.
Users can customize the number of options per drop-down in Netsuite. Based on this setting, VGIS shows a drop-down as a search box if the number of options exceeds the limit.
To set the limit,
- Go to the Set Up menu option, and navigate to Company.
- Click on General Preferences.
- Find the textbox for Maximum Entries in Drop-down.
- If the number of options is greater than the number given in the settings, VGIS will change the select drop-down as a search box as it is unnecessary to get all options at once in the metadata.
Sign in to NetSuite
Sign In with VGIS Desktop
Once your activation is complete, you can register NetSuite with the Vonage Desktop Application.
After logging in, click on My Apps from the menu. Then select NetSuite and log in by clicking the button.
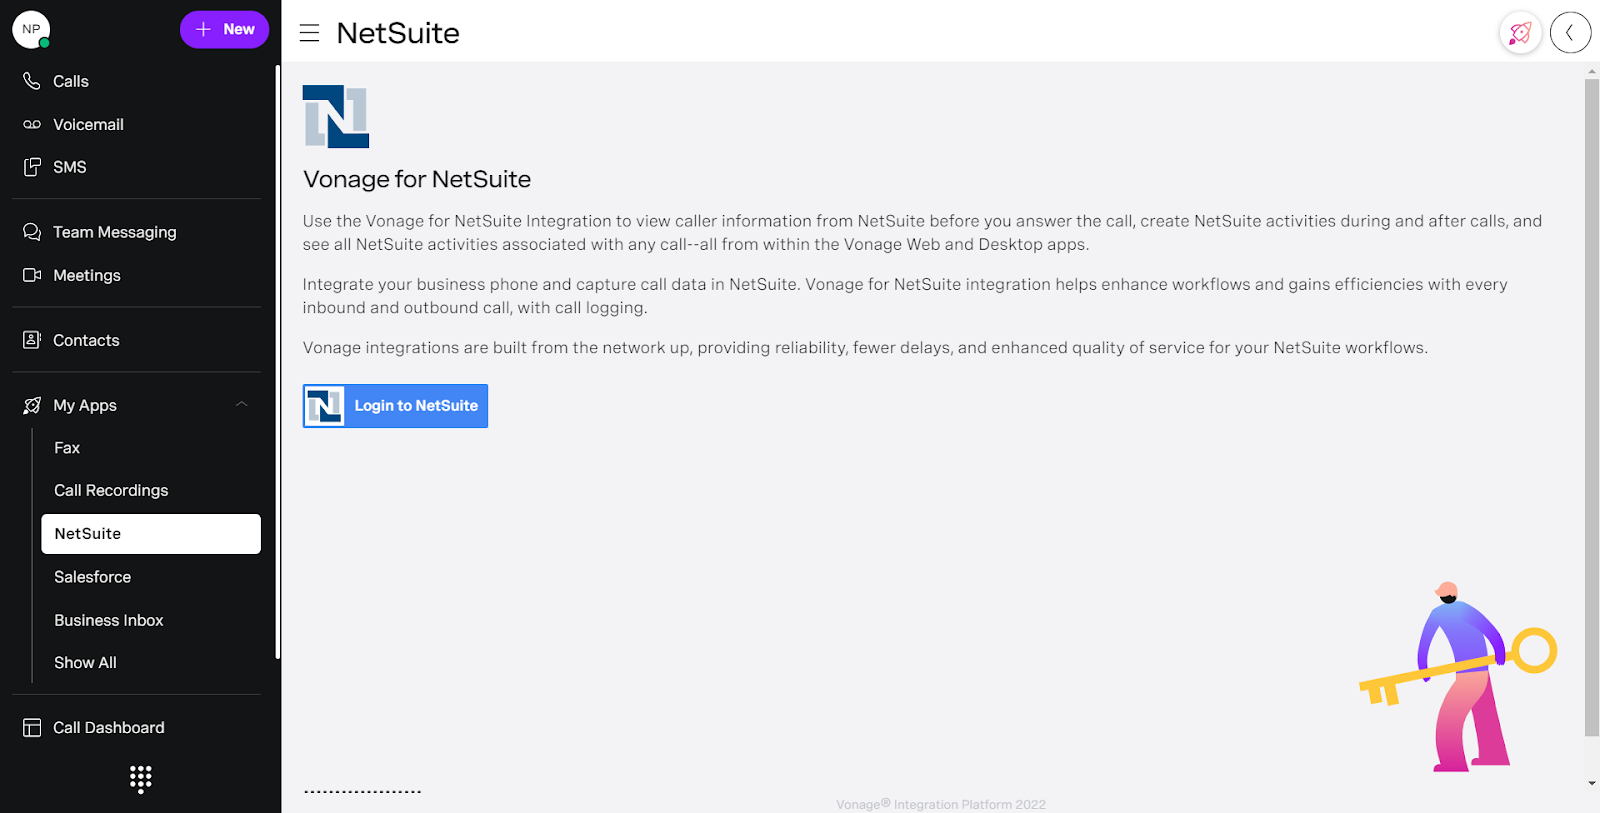
Enter your credentials and proceed to click through the options that appear to allow the apps access into NetSuite.
Once logged in, a welcome message appears along with the option to create and view activities.
NetSuite Integration Resources
To view and configure NetSuite integration resources, go to the VGIS Config Portal by visiting the following link: https://extensions.gunify.vonage.com/login
Under My Account, select the circle icon within NetSuite and then click on NetSuite Resources.

You can see available contacts, known as contactable objects, and available activities. Drag the objects you want to use to the right side of the panel. Contacts are objects with phone numbers, while activities are objects that are created based on calling activity.
Please Note: Contact order affects the order of results when multiple matches are found.
When choosing the best match for contacts, the system searches for the first type, then the second, and so on. For example, if you have customers set as first under contacts when searching through contacts, customers will show first, followed by leads, and continue for the remainder of the list.
Contactable objects are synced from NetSuite once a day unless an administrator performs a manual sync in the VGIS Configuration Portal. To turn on auto-sync for a contact, use the toggle on the right for each contact type under Integration resources.
To perform a manual sync, navigate to configuration tools and select Synchronize contacts. Choose the type of sync you’d like to perform, and proceed to click Sync Now. You can view the status of the sync and the date of the last sync made.
Make Calls or Send SMS Messages
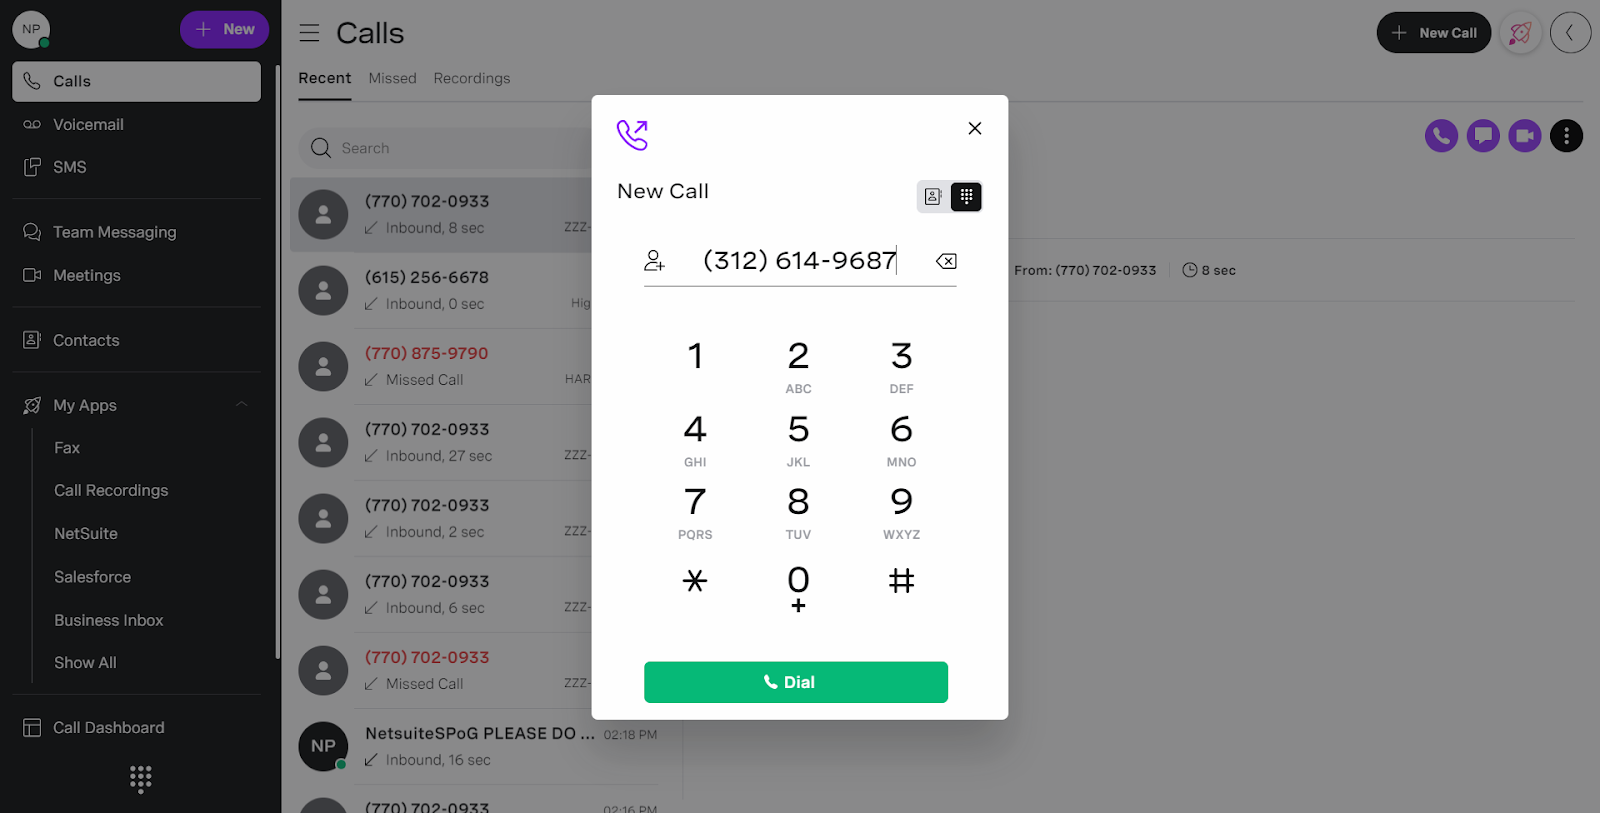
To make a call from the Vonage application, click on the Dial Pad icon and enter a valid 10-digit phone number. When complete, click the green Dial button to place your call. You can also call a contact directly from the Call tab, Contacts, or Voicemail tab.
The Vonage Integration app includes an SMS function. With this feature, you can send and receive SMS messages. Click SMS from the menu from the Vonage application and select New SMS to send an SMS message. Enter a valid 10-digit number and message, or select an existing contact if already saved. When complete, click the green send button. All incoming messages to your Vonage application can be viewed through the Call History or Call Activity windows.
Reports
To run Reports through the VBC Admin Portal, click on Reports from the menu within the VBC desktop application. Under Reports, you have the option to view saved reports and to run a variety of report summaries.

Choose the type of report you would like to run.
You can customize the date range and select locations from the drop-downs.
The refresh and download buttons are found in the right corner. You can download the report as a PDF or CSV file. You can also save, print, or email the report to yourself or a colleague.
Filters are available to narrow your search. You can select a preference for a Table or Graph view of the report. As you select the corresponding information, data will appear within the table.
Add Activities
Add Activities in the Desktop and Mobile Apps
You can add conversations, casks, and notes to a contact via the contacts dialog box. You can also add Events within the Vonage App. These items are known as Activities and are a highly effective way to keep updated contact information.
To add a note:
- Navigate the Calls tab and select either Recent or Missed calls.
- Find the contact you wish to use. Then, click on NetSuite.
- Under Select Action, choose Note.

Once the tab appears, you have the following fields:
- Entity: Select from the options shown in the drop-down.
- Title: This is used for internal use only and is located in the activity record of the contact.
- Memo: This field allows you to add additional notes about the call or contact.
- Direction: Choose whether it is incoming or outgoing.
- Type: Select the type of interaction this is.
- Date and Time: Select the date and time for the note information.
Once finished, click Create to save the note for this contact.
Please Note: The fields mentioned are from the NetSuite application. Depending on how NetSuite has been configured, some fields may not be available.
Each activity will have corresponding fields geared toward the activity at hand.
The Call Activity window updates are automatically saved to Vonage and NetSuite if automatic logging is enabled in the configuration portal.